Live streaming isn’t just a pandemic holdover — it’s become a permanent part of how churches connect with their communities. Homebound members, travelers, out-of-town college students, and people “church shopping” from their couch all rely on live streams. And increasingly, first-time visitors watch a live service before ever walking through your doors.
The good news: adding a live stream to your church website is simpler and more affordable than ever. You can start for under $500 with equipment you might already own. This guide covers everything — from choosing a streaming platform to embedding it on your website to building a setup that matches your budget.
Table of Contents
- Platform options for live streaming
- How to embed a live stream on your website
- Equipment by budget tier
- Audio matters more than video
- Best practices for a great live stream
- FAQ
Platform Options for Live Streaming
Before you buy any equipment, decide where you’ll stream. The platform you choose affects cost, quality, ease of embedding on your website, and how your audience finds and watches your stream.
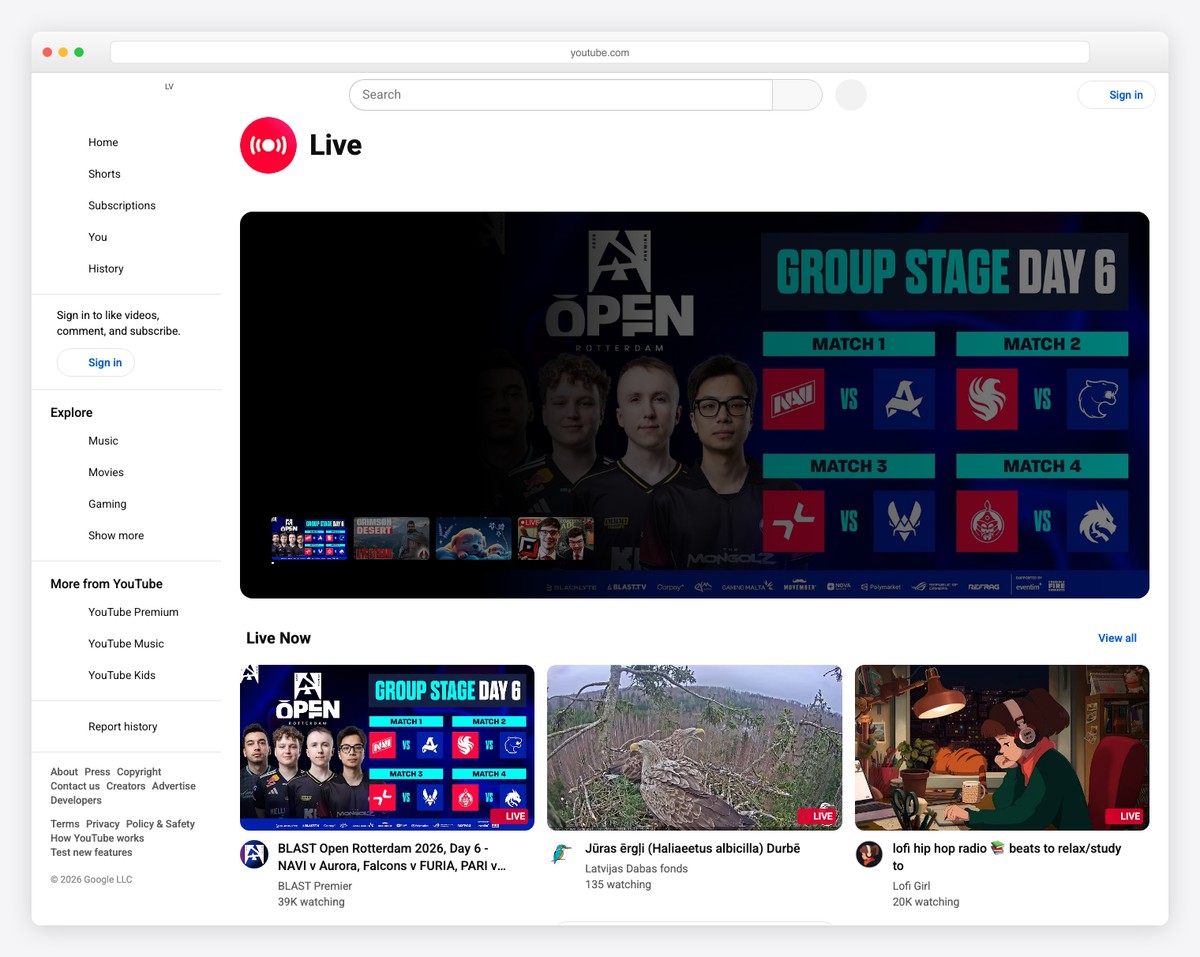
YouTube Live (Recommended for Most Churches)
Cost: Free
Best for: Churches of all sizes, especially those starting out
YouTube Live is our default recommendation because it’s free, reliable, and gives you the most built-in reach. Your live stream is automatically saved as a video on your YouTube channel (which doubles as your sermon archive), it’s easily embeddable on any website, and people can find your stream by searching YouTube directly.
YouTube also handles the heavy lifting of encoding and delivery — you don’t need to worry about bandwidth or server capacity. Whether 10 people or 10,000 are watching, YouTube handles it.
The downsides: YouTube may show ads before your stream (upgrading to a YouTube channel with no ads requires meeting monetization thresholds), and the chat feature can attract trolls if your stream is public. Most churches keep chat moderated or disabled.
Facebook Live
Cost: Free
Best for: Churches with an active Facebook community
Facebook Live is the easiest way to start streaming — you can literally go live from a phone. It works well for churches with an established Facebook presence because it pushes notifications to your followers. The video stays on your page after the stream ends.
The downsides: embedding Facebook Live on your website is clunkier than YouTube, video quality caps out lower, and you’re at the mercy of Facebook’s algorithm for reach. We generally recommend YouTube for your website embed and Facebook as a secondary simulcast destination.
Resi (Premium)
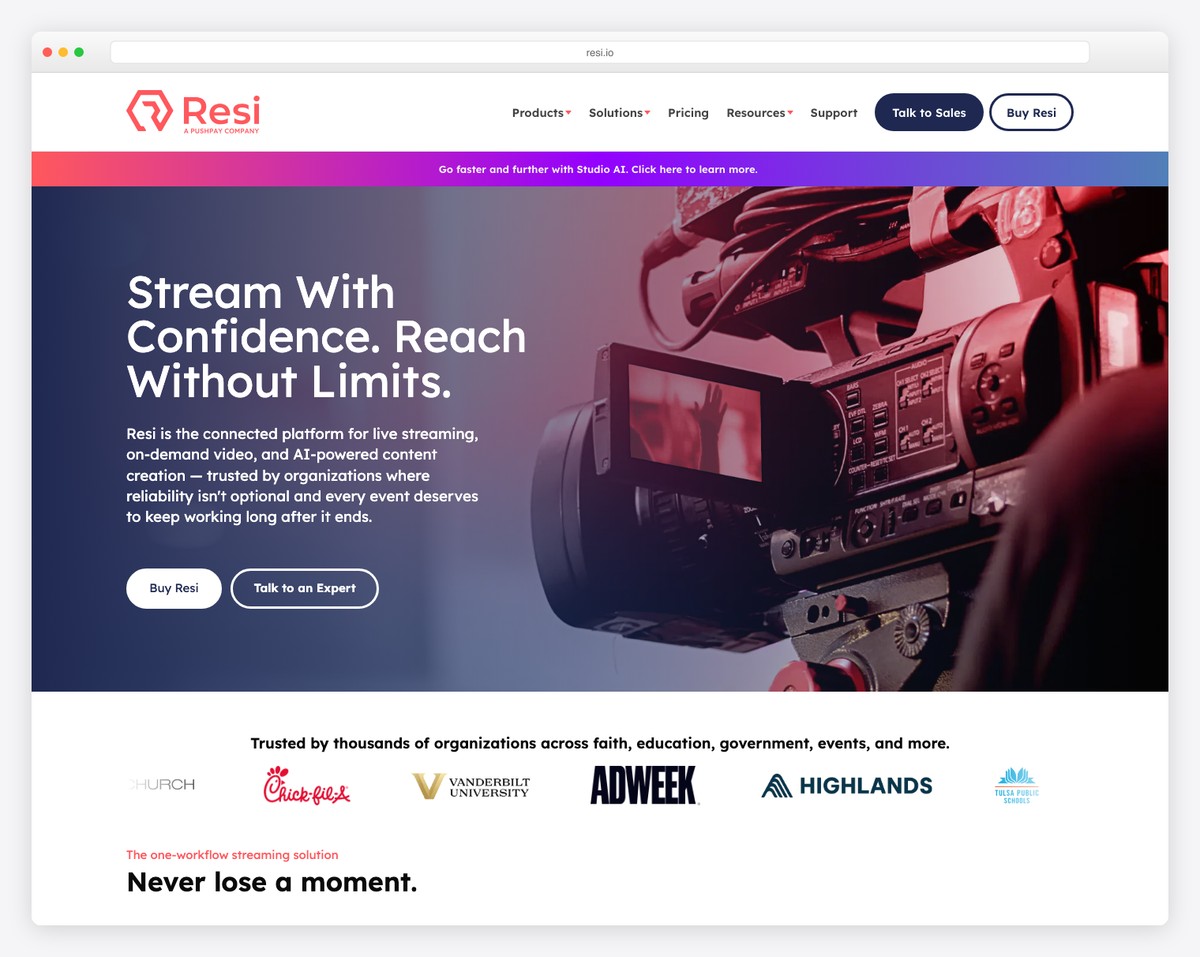
Cost: $99-399/month
Best for: Churches that need broadcast-quality reliability
Resi is a professional streaming platform designed specifically for churches and live events. Its killer feature is “resilient streaming” — it encodes your stream in chunks and can recover from internet hiccups without dropping the stream. If your internet connection is spotty, Resi can be the difference between a stream that works and one that constantly buffers.
Resi also offers multistreaming (send one stream to YouTube, Facebook, and your website simultaneously), a custom-branded player, and integration with church platforms. It’s premium-priced, but for churches where streaming is mission-critical, it’s worth it.
Subsplash Media
Cost: Included with Subsplash platform
Best for: Churches already using Subsplash for their website or app
If you’re on the Subsplash ecosystem, their media platform includes live streaming capabilities that integrate directly with your Subsplash website and app. The experience is seamless for both you and your viewers — no third-party embeds needed. It’s not as feature-rich as Resi for streaming, but the tight integration with your existing platform makes it very convenient.
How to Embed a Live Stream on Your Website
Having your live stream on your own website — not just on YouTube or Facebook — keeps visitors in your church’s online environment. They’re surrounded by your branding, your messaging, and your calls to action (like “Plan Your Visit” or “Give”).
YouTube Embed: Step-by-Step
- Create a dedicated “Watch Live” page on your website. This gives you a permanent URL you can share and promote (e.g., yourchurch.com/live).
- Get your YouTube channel’s live stream URL. Go to YouTube Studio > Content > Live. Your upcoming or active live stream will have an embed code.
- Copy the embed code. Click “Share” on your live stream, then “Embed.” Copy the iframe code.
- Paste the embed code into your website’s Watch Live page. On Squarespace, use a “Code” block. On WordPress, use a “Custom HTML” block. On Tithe.ly, use the embed widget.
- Make the embed responsive. Wrap the iframe in a container with
position: relative; padding-bottom: 56.25%; height: 0; overflow: hidden;and set the iframe toposition: absolute; width: 100%; height: 100%;. This ensures the video scales properly on all screen sizes.
💡 Pro tip: Use YouTube’s “upcoming live stream” feature to schedule your stream in advance. The embed will show a countdown timer before the stream starts, letting visitors know exactly when to tune in. After the stream ends, the embed automatically becomes the recorded video.
Designing Your Live Page
Your Watch Live page should include more than just the video embed:
- Service times — when to tune in
- The video embed — large, centered, responsive
- Online giving link — so viewers can give during the service
- Connection card or prayer request form — for online-only attendees
- “Plan Your Visit” CTA — invite online viewers to attend in person
- Link to sermon archive — for past messages
Some churches also add a live chat or real-time prayer request feature below the video to create a sense of community during the stream.
Equipment by Budget Tier
Here’s what you’ll need at three budget levels. Each tier produces a watchable, valuable live stream — the difference is in production quality, not viability.
Starter Setup (~$500)
- Camera: Logitech C920/C930 webcam ($70-100) or a recent smartphone on a tripod
- Microphone: USB condenser mic like the Audio-Technica AT2020USB+ ($100-150) or a Rode NT-USB Mini ($100)
- Software: OBS Studio (free, open source) — handles encoding and streaming to YouTube/Facebook
- Computer: Any laptop from the last 5 years with a decent processor
- Tripod: Basic phone/camera tripod ($20-40)
- Internet: 10 Mbps upload speed minimum (test at speedtest.net)
This setup works for churches just getting started. Position the camera at the back of the room pointing at the stage, connect the USB mic for clear audio, and stream through OBS to YouTube. The image won’t be cinematic, but the content comes through clearly — and that’s what matters.
Mid-Range Setup (~$2,000)
- Camera: Camcorder like the Canon VIXIA HF G50 ($800-1,000) or a mirrorless camera with clean HDMI output
- Audio: Audio mixer (Behringer X1222USB, ~$200) connected to your existing sound system — this captures your live audio mix directly
- Video switcher: Blackmagic ATEM Mini ($295) — connects your camera via HDMI and outputs to your computer as a webcam. Also lets you add a second camera or presentation slides later.
- Software: OBS Studio (still free)
- Capture card: Included with ATEM Mini (it acts as one)
This is the sweet spot for most mid-size churches. The camcorder gives you real zoom capability and much better image quality than a webcam. The audio mixer means you’re capturing your actual sound board mix (which sounds way better than a standalone mic in the room). And the ATEM Mini sets you up for multi-camera expansion later.
Professional Setup (~$5,000+)
- Cameras: 2-3 PTZ (pan-tilt-zoom) cameras like the PTZOptics 20X ($1,200-1,500 each) — remote-controlled, so one operator can manage multiple angles
- Video switcher: Blackmagic ATEM Mini Pro ISO ($795) or ATEM Television Studio ($995) — multi-camera switching with recording
- Dedicated encoder: Resi hardware encoder or a dedicated streaming PC
- Audio: Direct feed from your sound board via XLR or USB
- Graphics: Lower thirds, sermon titles, and lyric overlays via ProPresenter or OBS scenes
This is broadcast-quality streaming. Multiple camera angles with smooth switching create a TV-like viewing experience. PTZ cameras can be operated remotely from the sound booth. A dedicated encoder (or Resi) ensures reliable, high-quality output even with imperfect internet. This level is appropriate for churches with 500+ regular online viewers.
Equipment Comparison at a Glance
| Component | Starter (~$500) | Mid-Range (~$2,000) | Pro (~$5,000+) |
|---|---|---|---|
| Camera | Webcam or smartphone | Camcorder (1 camera) | 2-3 PTZ cameras |
| Audio | USB microphone | Audio mixer from sound board | Direct sound board feed |
| Video switching | None (single angle) | ATEM Mini (2 inputs) | ATEM Pro/TV Studio (4+ inputs) |
| Streaming software | OBS Studio (free) | OBS Studio (free) | Dedicated encoder or Resi |
| On-screen graphics | Basic OBS overlays | OBS scenes + overlays | ProPresenter or vMix |
| Operators needed | 1 (check occasionally) | 1 (manage camera + software) | 1-2 (camera switching + graphics) |
| Video quality | 720p-1080p | 1080p | 1080p-4K |
Audio Matters More Than Video
This is the most important thing in this entire guide, so we’re giving it its own section: people will tolerate mediocre video, but they will not tolerate bad audio.
A 720p video with crystal-clear audio is watchable. A 4K video with echoey, muffled, or crackling audio is unwatchable. Every dollar you spend on audio quality returns more value than a dollar spent on video quality.
If you’re on the starter setup, spend the most on your microphone. If you’re at the mid-range, prioritize the audio mixer connection to your sound board. And regardless of your setup, test your audio before every stream. Put on headphones and listen to what the online audience actually hears — not what you hear in the room.
Common audio problems and fixes:
- Echo/reverb: You’re using a room mic instead of a direct sound board feed. Switch to a direct connection.
- Music is fine but speaking is quiet: Your audio mix is optimized for the room, not the stream. Create a separate “broadcast mix” on your sound board with the speaking mic louder.
- Crackling or distortion: Gain is set too high. Lower the input level in OBS or on your mixer.
- No audio at all: Check your OBS audio sources. The most common issue is OBS defaulting to the wrong input device.
Best Practices for a Great Live Stream
Start 5 Minutes Early
Go live at least 5 minutes before the service starts. This gives you time to verify everything is working (video, audio, connection) and gives early joiners something to watch — even if it’s just a “starting soon” graphic with background music. Nothing is worse than realizing 10 minutes into the service that the stream wasn’t actually live.
Assign a Dedicated Operator
Don’t ask your sound tech to also manage the live stream — they already have a job. Recruit a volunteer specifically for streaming. Their responsibilities: start the stream, monitor audio levels, manage camera angles (if multi-camera), watch for technical issues, and end the stream. This person should have a dedicated laptop or station where they can see what the online audience sees.
Use On-Screen Graphics
Simple graphics improve the viewing experience significantly:
- “Starting Soon” screen before the service with service time and church logo
- Lower thirds showing the speaker’s name and sermon title
- Scripture references displayed on screen when referenced in the sermon
- Giving URL/QR code during the offering moment
- “Thanks for watching” screen at the end with next steps (Plan Your Visit, connection card link)
OBS Studio supports all of these through its “Scenes” and “Sources” features. Set them up once and your operator can switch between them during the service.
Promote Your Stream
A live stream nobody knows about serves nobody. Promote it through:
- A “Watch Live” link in your main website navigation
- Weekly social media reminders before Sunday
- A link in your email newsletter
- Encouraging members to share the stream link with friends and family who can’t attend
For broader marketing strategies, see our church marketing guide.
Frequently Asked Questions
Will live streaming reduce in-person attendance?
This is the most common concern, and the data says no. Most churches report that live streaming either has no effect on in-person attendance or slightly increases it — because online viewers who like what they see eventually show up in person. The people watching your stream fall into two categories: those who genuinely can’t attend (they’re served, not stolen) and those who are previewing before visiting (they’re more likely to attend because of the stream, not less).
How much internet bandwidth do we need?
At minimum, 10 Mbps upload speed (not download — upload). For reliable 1080p streaming, aim for 15-20 Mbps upload. Use a wired Ethernet connection from your streaming computer to your router — never rely on Wi-Fi for live streaming. If your church’s internet isn’t fast enough, consider a dedicated connection just for streaming, or look into Resi’s resilient streaming technology.
Should we stream to YouTube, Facebook, or both?
Start with YouTube — it’s the best for embedding on your website and for long-term sermon archiving. If you have an active Facebook following, simulcast to both using a tool like Restream.io (free for two destinations) or OBS’s built-in multi-output feature. YouTube for your website embed, Facebook for your community — best of both worlds.
Can we use a phone to live stream?
Yes, especially for getting started. A recent iPhone or Android on a tripod, connected to your church’s Wi-Fi, can stream directly to YouTube or Facebook in decent quality. The main limitation is audio — a phone mic in a room sounds echoey. If you go the phone route, invest in a wireless lavalier mic (like a Rode Wireless GO, ~$200) that connects to the phone for much better audio.
How do we handle copyright for worship music in our live stream?
A CCLI Streaming License (about $120-500/year depending on church size) covers most worship music for live streaming. This is separate from your regular CCLI license, which only covers in-person reproduction. Without a streaming license, YouTube may mute copyrighted portions of your stream. Most churches find the streaming license worth the investment.
What’s OBS Studio and how hard is it to learn?
OBS (Open Broadcaster Software) is free, open-source streaming software used by everything from gamers to TV studios. It looks intimidating at first, but the basics are simple: add your video source (camera), add your audio source (mic or sound board), connect to YouTube, and click “Start Streaming.” There are hundreds of YouTube tutorials for church-specific OBS setups. A tech-savvy volunteer can learn the basics in an afternoon.
Leave a Reply