Your sermon archive is the second most-visited section of your church website — right behind the homepage. Members use it to re-listen to Sunday’s message, catch up on weeks they missed, and share sermons with friends. Visitors use it to preview your teaching before deciding to visit. And yet, most church sermon archives are a disorganized list of dates and titles that nobody wants to browse.
It doesn’t have to be that way. This guide shows you how to organize and display your sermons in a way that’s actually engaging — the “Netflix approach” — plus practical setup instructions for every major platform, media hosting comparisons, and tips for maximizing the impact of every message you preach.
Table of Contents
- Why your sermon archive matters more than you think
- The Netflix approach to sermon browsing
- Media hosting: where to store your sermon audio and video
- Setting up your sermon page by platform
- Sermon notes and discussion guides
- Sermon series graphics
- FAQ
Why Your Sermon Archive Matters More Than You Think
When someone is considering visiting your church, they want to know what they’re walking into — and sermons are the clearest window into your church’s culture, theology, and personality. A visitor who watches a 5-minute clip of your pastor teaching and thinks “I like this person” is dramatically more likely to show up on Sunday than someone who just read your About page.
Your sermon archive also serves your existing congregation in ways you might not realize:
- Small group leaders use it to prepare discussion around the week’s sermon
- Members who missed a week catch up so they can stay in the sermon series conversation
- People sharing their faith send specific sermons to friends going through tough times
- Long-distance supporters (college students, traveling members, supporters) stay connected
All of this only works if your sermons are easy to find and pleasant to browse. Which brings us to the approach that’s transforming church sermon pages.
The Netflix Approach to Sermon Browsing
Think about how Netflix presents content. They don’t show you a chronological list of every movie ever made. They feature what’s new, organize by category, display compelling artwork, and make it easy to jump into something that interests you. Your sermon archive should work the same way.
Organize by Series, Not by Date
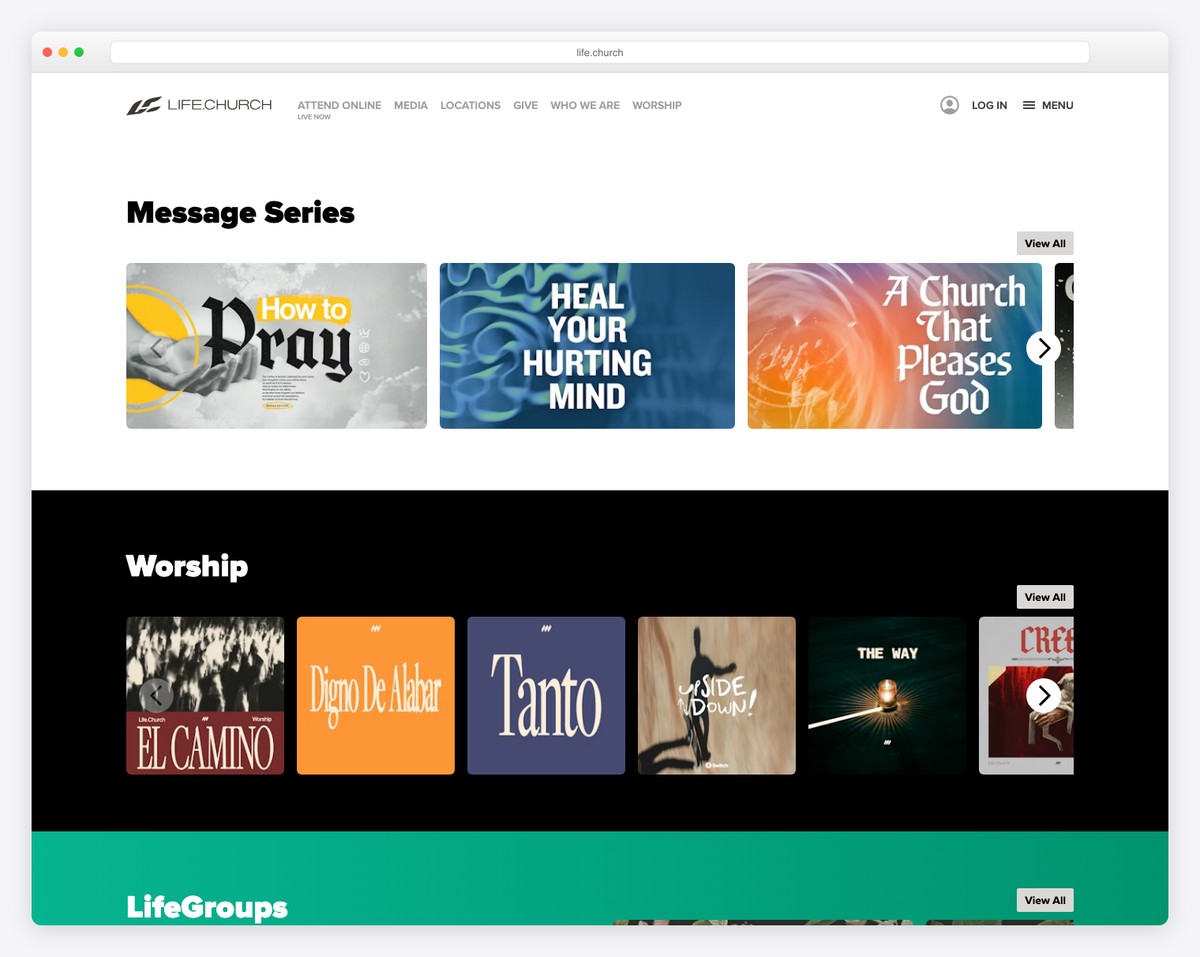
This is the single biggest improvement you can make. Instead of a reverse-chronological list of individual sermons, group them by sermon series. Most churches preach in 4-8 week series — use those as your primary organizing structure.
Each series gets its own artwork (more on that below), a brief description, and a list of individual messages within it. Visitors can browse series like they’d browse shows on Netflix — finding a topic that interests them and diving in.
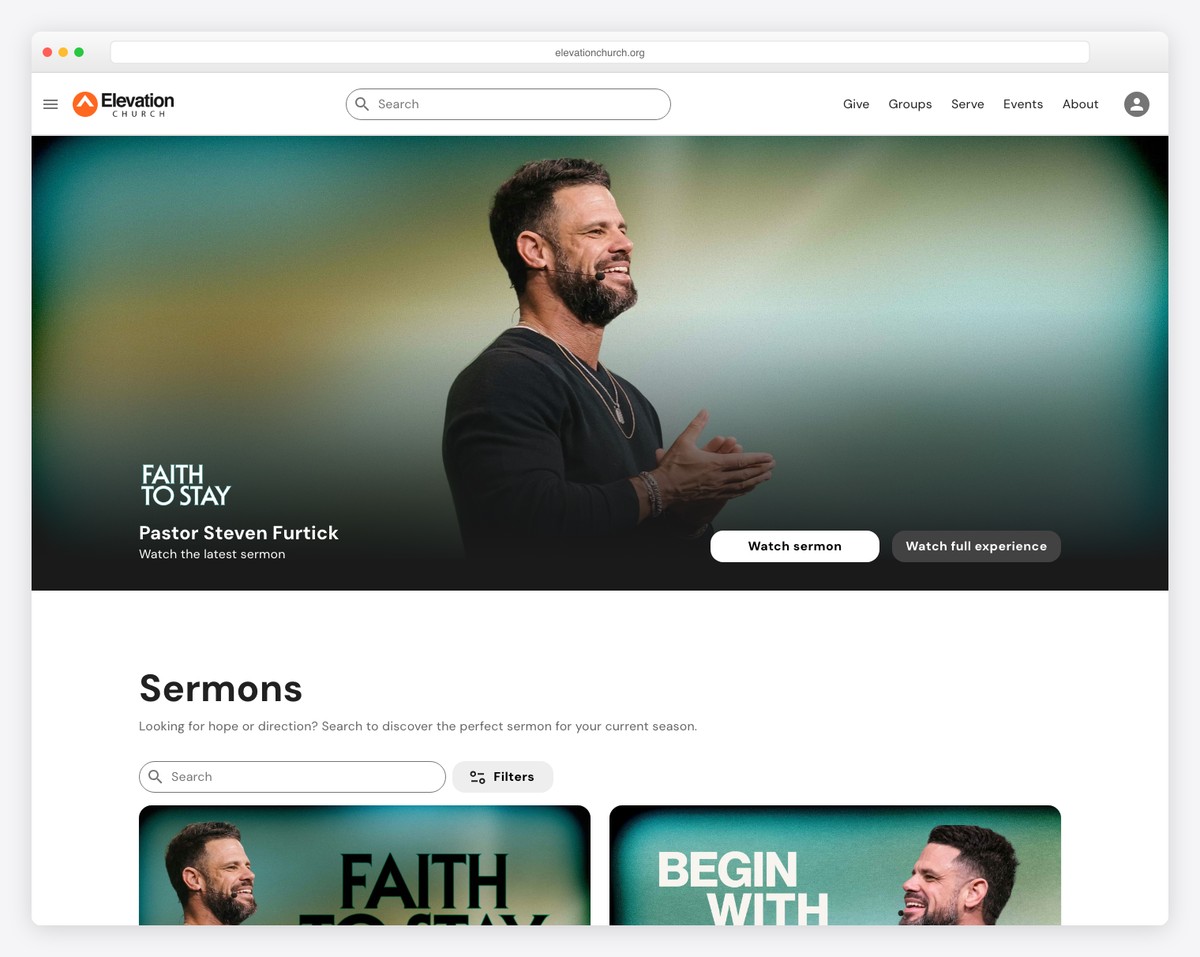
Feature the Current Series
Your current sermon series should be the first thing visitors see when they land on the sermons page — a hero section with the series artwork, title, description, and latest message. This creates urgency and context: “This is what we’re talking about right now. Jump in.”
Add Filtering
Give visitors multiple ways to find what they’re looking for:
- By series — the primary browse method
- By speaker — essential for multi-staff churches
- By topic — marriage, parenting, faith, grief, finances
- By scripture — for people studying specific books of the Bible
- Search — a simple search bar for people who know what they’re looking for
Not every platform supports all of these, but even basic series-based organization is a massive improvement over a flat chronological list.
Media Hosting: Where to Store Sermon Audio and Video
Before you can display sermons on your website, you need somewhere to host the files. Don’t upload large video or audio files directly to your website hosting — it’ll slow your site down and eat through storage. Use a dedicated media platform and embed from there.
| Platform | Cost | Video | Audio | Best For |
|---|---|---|---|---|
| YouTube | Free | Yes | No (video only) | Most churches — unlimited free video hosting with built-in audience |
| Vimeo | $12-75/month | Yes | No | Churches wanting ad-free, branded video player |
| Subsplash Media | Included with platform | Yes | Yes | Churches already on Subsplash for their website/app |
| Spotify/Apple Podcasts | Free (via host) | No | Yes | Audio-only distribution to podcast listeners |
| Buzzsprout | $12-24/month | No | Yes | Dedicated podcast hosting with distribution to all platforms |
| SoundCloud | Free-$16/month | No | Yes | Simple audio hosting with embeddable player |
Our Recommendation
For most churches, the winning combination is YouTube for video (free, unlimited, great SEO) plus a podcast host like Buzzsprout for audio (reaches people on Spotify and Apple Podcasts). Embed the YouTube videos on your sermon pages and let the podcast feed handle audio-only listeners.
If you want a premium, ad-free experience and don’t mind paying, Vimeo is excellent for video. And if you’re already using Subsplash for your website or app, their media hosting is included and works seamlessly.
Setting Up Your Sermon Page by Platform
How you build your sermon archive depends on your website platform. Here’s how to approach it on the most common church website builders.
Squarespace
Squarespace doesn’t have a dedicated sermon feature, but the Blog section works well as a workaround. Here’s how to set it up:
- Create a Blog section and rename it “Sermons” in your navigation.
- Use categories for sermon series — create a category for each series (e.g., “Gospel of John,” “Finding Hope”).
- Each sermon is a blog post with the series artwork as the featured image, the YouTube video embedded in the body, and sermon notes below.
- Use tags for speakers, topics, and scripture references to enable filtering.
- Choose a blog layout that displays series artwork prominently — the “Grid” layout with large thumbnails works best.
The Squarespace approach isn’t perfect — you don’t get true series landing pages without some extra work — but it’s clean, simple, and looks great. Most of the small church websites we’ve featured use this approach.
WordPress
WordPress offers the most flexibility for sermon archives, especially with dedicated plugins:
- Starter approach: Use a standard blog with categories for series, just like Squarespace. Simple and works immediately.
- Sermon Manager plugin (free): Creates a custom post type for sermons with built-in fields for speaker, series, scripture, and audio/video. Integrates with most themes.
- Church theme suites: Many church WordPress themes include sermon management built-in, with series pages, filtering, and media players.
If you’re on WordPress and serious about your sermon archive, a dedicated plugin or church theme is worth the investment. The filtering and organization capabilities far exceed what you can do with a standard blog.
Tithe.ly Sites
Tithe.ly includes native sermon blocks that are purpose-built for churches. You can add sermon media (video and audio), organize by series, add sermon notes, and display everything in a clean, browsable layout — no workarounds needed. If sermon management is a high priority and you’re choosing a platform, Tithe.ly’s built-in approach is hard to beat for simplicity.
Sermon Notes and Discussion Guides
Adding sermon notes and discussion guides transforms your sermon archive from a passive media library into an active discipleship tool. Here’s how to do it well.
Sermon Notes
Publish a text summary of each sermon below the video embed. Include:
- Scripture references — linked to an online Bible (BibleGateway.com) so visitors can read along
- Key points — 3-5 bullet points summarizing the main ideas
- Memorable quotes — pull out the 1-2 strongest lines from the sermon
- Application — one practical takeaway for the week
This doesn’t need to be a full transcript. A 200-300 word summary is plenty. It gives people who prefer reading a way to engage, and it creates text content that Google can index — boosting your site’s SEO for biblical topics and questions.
Discussion Guides
If your church has small groups, create a weekly discussion guide tied to the sermon. Include:
- An icebreaker question
- 3-5 discussion questions that dig deeper into the sermon’s themes
- A scripture passage for further study
- A closing prayer prompt
Publish this as a downloadable PDF on the sermon page, or include it as a collapsible section below the sermon notes. Small group leaders will thank you — it saves them hours of prep time and keeps groups aligned with what the church is teaching.
Sermon Series Graphics
Good series artwork is what makes the Netflix approach work. Without it, your sermon archive is just another text list. With it, browsing becomes visual and engaging.
Creating Series Graphics with Canva
You don’t need a professional designer. Canva’s free plan includes everything you need to create compelling sermon series graphics:
- Start with a template. Search “sermon series” in Canva for pre-designed templates. Or create a custom size: 1920×1080 for a 16:9 ratio (works for both web and screens).
- Keep it simple. Series title, a subtitle or scripture reference, and a background image or color treatment. Don’t overcrowd it.
- Use consistent fonts. Pick two fonts (a bold heading font and a clean body font) and use them for every series. This creates brand consistency across your archive.
- Create multiple sizes. You’ll need the graphic for your website (16:9), social media (1:1 square for Instagram, 16:9 for Facebook), and possibly print (11×17 poster). Canva makes resizing easy.
Invest 30-60 minutes per series to create the graphic. It’s a small time investment that dramatically improves how your sermon content is presented across your website, social media, and in-person screens.
💡 Pro tip: Create a Canva template for your series graphics and save it. Each new series, duplicate the template, swap the title and background image, and you’re done in 10 minutes. Consistency across all your series artwork makes your archive look intentional and polished.
Frequently Asked Questions
Should we post full sermons or clips?
Both. Full sermons in your archive for people who want the complete message. Short clips (30-90 seconds) on social media to drive traffic back to your site. The clip strategy works especially well on Instagram Reels and YouTube Shorts — it gives people a taste that makes them want more.
Video or audio only?
If you can do video, do video. It’s more engaging, better for visitors previewing your church, and performs better on YouTube and social media. But audio-only is still valuable — especially as a podcast that people listen to during commutes. The ideal setup is video on your website and YouTube, plus audio distributed as a podcast.
How far back should we go?
Don’t try to upload 10 years of sermons at once. Start with your current series and the last 3-4 completed series. Going forward, upload every sermon as it happens. If you have time later, you can backfill older series — but focus on building the habit of consistent weekly uploads first.
Does our sermon archive help with SEO?
Yes — if you include text content (sermon notes, key points, scripture references). Google can’t watch your videos, but it can read your sermon summaries. A church with 100 sermon pages, each with 200-300 words of notes, has 100 pages of content indexed by Google. Over time, this drives organic traffic for biblical topics and questions. For more on optimizing your church for search, see our church SEO guide.
What about copyright for worship music in our recordings?
If your sermons include copyrighted worship music, YouTube may flag the audio and run ads on those videos (or mute sections). Options: edit out the music before uploading, start recording after worship ends, or use YouTube’s Content ID dispute process if you have a CCLI Streaming License. Many churches simply trim the recording to sermon-only content to avoid the issue entirely.
How long does it take to set up a sermon archive?
If you already have sermons recorded, you can set up a basic archive in an afternoon. Create the page structure on your website, upload your most recent series to YouTube, embed the videos, and add brief notes for each sermon. The ongoing time investment is 30-60 minutes per week to upload the latest sermon, add notes, and update the current series. It’s a rhythm, not a project.
Leave a Reply